roses in vase made of candy canes for christmas decoration

  • Use big ornaments, trim, or décor, especially down low.
  • Place small ornaments, lights, or other decorations with small pieces on top branches or shelves, above eye (and toddler reach) level.
  • Avoid decorations with small items like beads, safety pins, buttons, tacks, or glitter.
  • Pick up after yourself, especially keeping small pieces of paper and trim off the floor.
  • Opt for larger candies such as candy canes instead of peppermint disks. Keep dishes of hard candies or nuts out of reach.
  • Avoid artificial trimmings that look like candy or food.

roses in vase made of candy canes for christmas decoration

via only deco http://www.home-craft-deco.com/2014/11/roses-in-vase-made-of-candy-canes-for.html

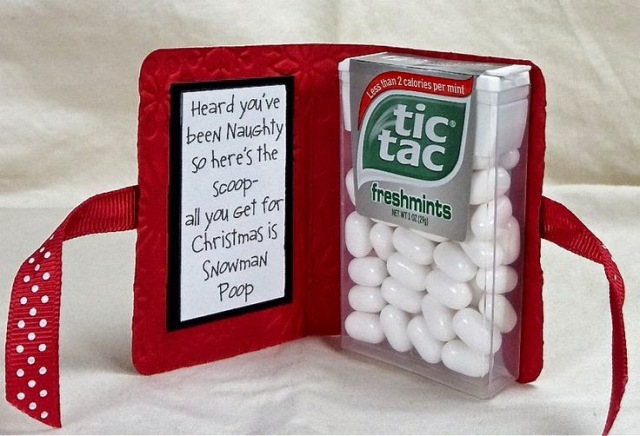
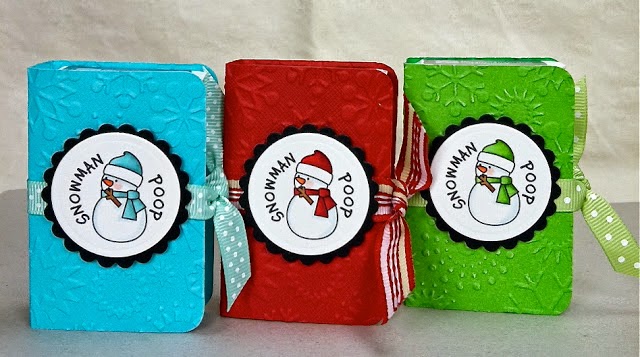
Snowman Poops & Grinch Pills.. 8-)

Hope everyone is all set and ready for Christmas! I have finally gotten caught up! Hurray! 😎 lol  The Christmas tree is not only up but decorated too! The packages are all wrapped, the neighbors gifts have all been baked and packaged up so they are ready to go, almost finished with all the baking and I just handed out these fun little treats that I made up to co-workers and friends..

.

Snowman Poops & Grinch Pills.. 😎

via only deco http://www.home-craft-deco.com/2014/11/snowman-poops-grinch-pills-8.html

9th day of christmas: gift boxes

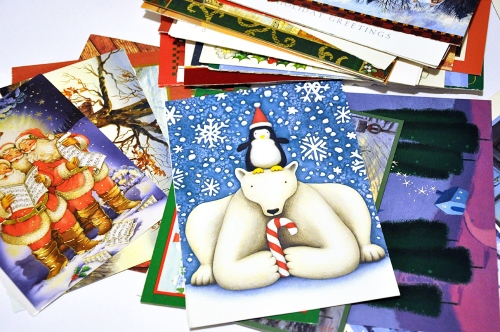
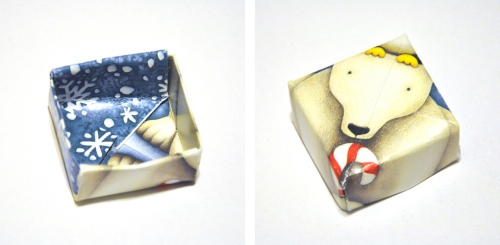
Do you have an ever-growing stack of holiday cards you collect each year, or is that just me? It’s hard to know what to do with them all, so here’s a quick and easy DIY craft that recycles your old holiday cards into tiny origami gift boxes that you can use the next year for stocking stuffers!

{christmas card gift boxes}


Materials needed:
Holiday cards
Scissors
Tape (optional) 


You’ll need the front and back of the greeting card for these boxes (to make the top and bottom of the box). As a tip: larger cards are easier to fold and make bigger boxes, so shy away from the smaller sized cards if you get frustrated by attempting tiny origami folds (like me).


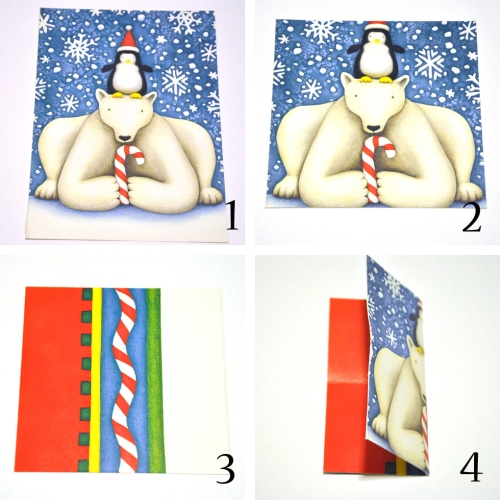
1. Cut the card down the middle to separate the front from the back. The folds are the same for both halves, but this demo will be for the top of the box.
2. Cut your card so that it is a perfect square. (When you’re making the bottom of your box, you will need to remember to make the square slightly smaller)
3. Flip your card over so that the pattern is facing down (in this case, I wanted the polar bear and penguin on the top of the box. I’m not sure why this card happens to have a weird design on the back, too!)
4. Fold your card in half right-to-left and reopen.


5. Now fold your square in half top-to-bottom.
6. When you reopen the square, you should see the crease marks create a « plus » sign on your card.
7. Fold each of your corners into the center where they should line up. (Sorry, in this picture I rotated the card a little… I hope that doesn’t confuse anyone!)
8. With your corners still folded to the middle, now fold the top and bottom of your square to the center where they should line up.


9. Unfold the last step you just did and do the same thing the other direction: bring your left and right sides of your square to the middle.
10. Unfold everything except two of your corners, as shown.
11. Fold in the left and right halves along your crease lines to make a « skinny tie » shape.
12. Lift up the sides you just folded down to create the sides of your box.


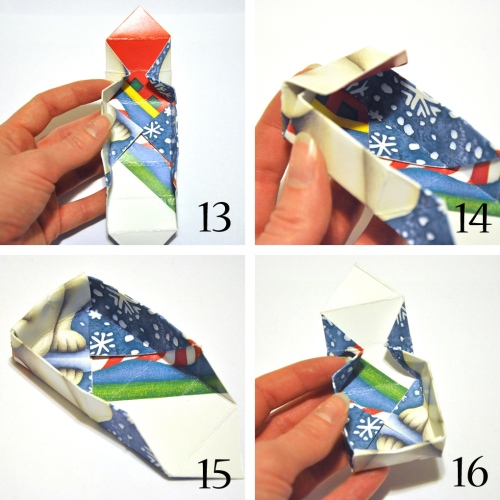
13. Pinch your fingers into the top creases so that the side of the box starts to collapse into itself.
14. Flip the fold up and over…
15. … so that it tucks into place and holds up the side of the box.
16. Do the same thing to the other side of the box. If the flaps keep popping up, use a bit of tape to secure it in place.


Now you should have one half of a tiny holiday box! Make the bottom of your box the same way (but cut your square slightly smaller) and fit the two pieces together to make a closed box. Fill with candies, jewelry, or other small gifts to put in Advent Calendars, stockings, or under the tree!

Enjoy!

9th day of christmas: gift boxes

via only deco http://www.home-craft-deco.com/2014/11/9th-day-of-christmas-gift-boxes.html

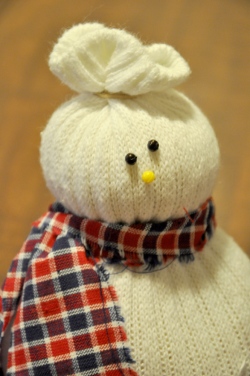
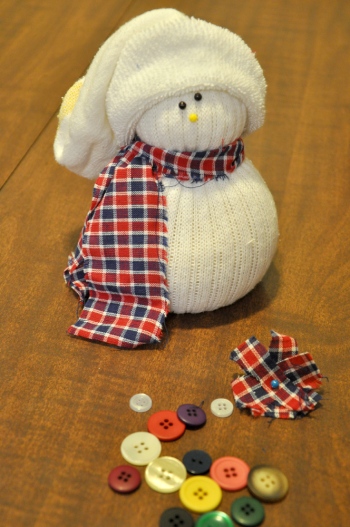
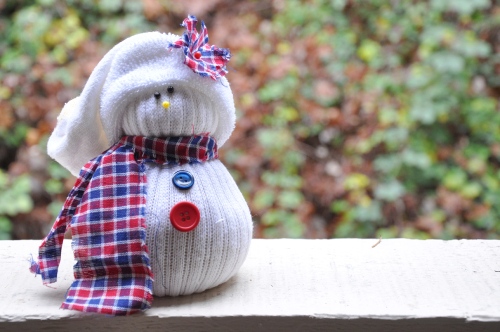
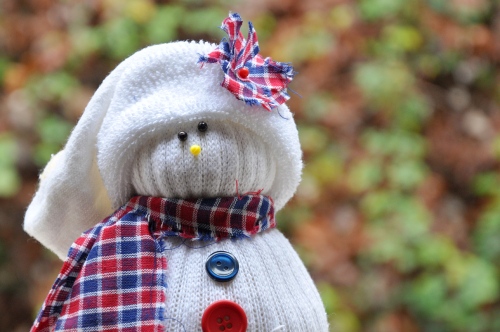
10th day of christmas: sock snowmen


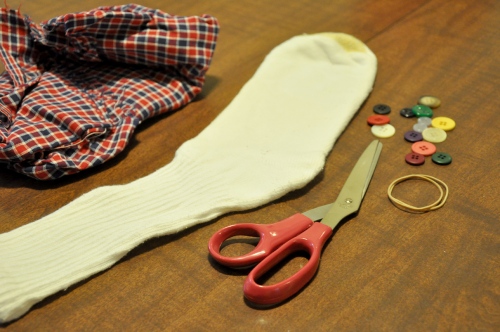
For this craft, you’ll need a pair of old socks that are crew length, or longer. I went through Tanner’s bag o’ socks in our closet for my set. Don’t worry, he’ll never miss them — he owns something like 10,000 pairs of socks, but insists on wearing shorts and flip-flops 365 days a year. Boys…


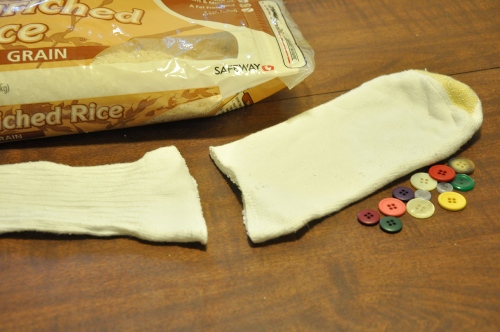
First, cut off the top of the sock from the foot.


Turn the sock inside out and attach a rubber band tightly to the top of the sock. Then turn the sock right-side out again.


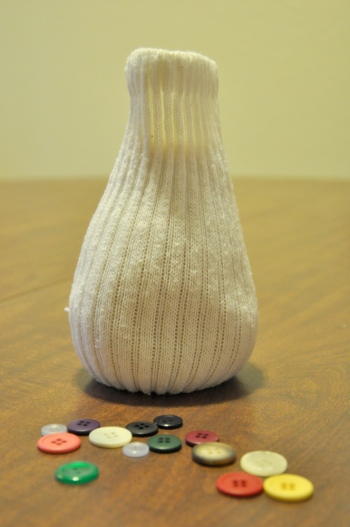
Fill the sock with rice. Make sure to pack it down as you go so the sock gets a nice round base.


Rubber band the top of the sock closed and put another rubber band 3/4 of the way to the top for the head of your snowman.


Now, decorate! Tie a scarf around your snowman’s neck and add eyes, nose, and buttons. I used map pins for my eyes. Unfortunately, I didn’t have any black ones, so I colored white ones with sharpie and stuck them in.


Use the toe of your cut socks to fashion a stocking cap. Or you could use colored argyle socks to create hats and sweaters for your snowman, as seen at {then she made}.


You can either sew or glue on your buttons, and add embellishments – twine, bows, ribbons, etc – as needed.


This is such a quick and easy craft – 10 minutes tops – that it would be simple to create a whole family of snowmen for your mantle!

source

10th day of christmas: sock snowmen

christmas idea, christmas crafts

via only deco http://www.home-craft-deco.com/2014/11/10th-day-of-christmas-sock-snowmen.html

CHRISTMAS 2014 ** $10 OFF

Let everyone know you have a sense of humour!Well-known ugly Christmas sweater now as a shirtThis is your must have for Christmas 2014! Get for yourself or make a gift!
http://teespring.com/xmasbest

*** THIS SPECIAL PRICE IS FOR PURCHASES IN THIS CAMPAIGN ONLY *** Then goes up to $34.99! ***

Hurry up and get yours TODAY! 100% cotton and made right here in the U.S.A. Reserve yours before we are out of stock!

*** WORLDWIDE SHIPPING ***
Buy 2, make a gift for someone and save on shipping. Don’t forget to ‘like’ and share 🙂

*** Guaranteed Satisfaction + Safe & Secure Checkout via Paypal/VISA/MasterCard ***

CHRISTMAS 2014 ** $10 OFF

via only deco http://www.home-craft-deco.com/2014/11/christmas-2014-10-off.html